Configuring ADLS Smart Connector for DQ Sync
This topic walks you through configuring the Azure Data Lake Storage (ADLS) smart connector and sync DQ Scores from DQLabs for the assets in your Metadata Manager.
This process involves the following:
- Configuring ADLS Connection in DQLabs
- Configuring the ADLS Smart Connector
- Enabling erwin DI - DQLabs Sync
Configuring ADLS Connection in DQLabs
To profile data and view DQ Scores for the metadata in the ADLS database, you need to set up a new catalog manually and connect to the ADLS database.
Before you connect to the ADLS database, configure the ADLS smart connector in DQLabs. For more information, refer to Azure Data Lake Connection for DQLabs configuration guide.
To connect to ADLS and profile data, follow these steps:
- Log in to the DQLabs instance.
- Click
 to create a new catalog.
 - From the Select a Datasource Type page, select AzureDataLake.
The Configure Azure DataLake Connection page appears.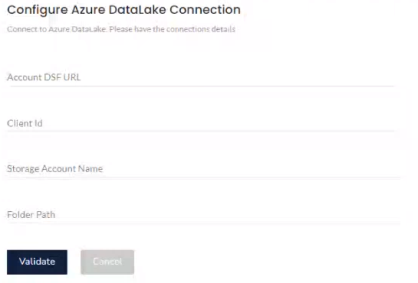
- Enter the connection details for the ADLS database.
- Click Validate.
- From the list, select the required datasets. Then, click Connect.
After, profiling data, the DQ Scores will be available for the datasets.
This displays the list of datasets, based on the data in the ADLS along with the dataset hierarchy.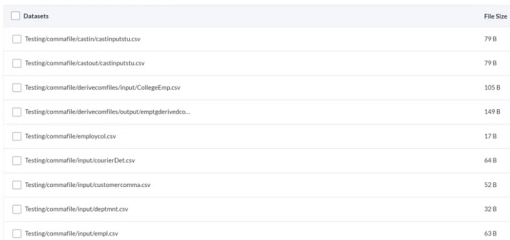
Once the ADLS connection is configured, ensure that you integrate erwin DI and DQLabs to retrieve DQ Scores from DQLabs. For more information about integration, refer to the Configuring Data Profiling topic.
Configuring the ADLS Smart Connector
Once you have created the catalog and profiled data from DQLabs, you need to configure the ADLS smart connector in erwin DI.
To configure the ADLS smart connector, follow these steps:
- Go to Application Menu > Miscellaneous > Automation Framework.
- Click
 .
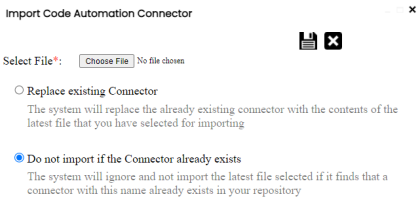
. - Click Choose File option, and choose the ADLS smart connector (.acp file), then, click
 .
.
The connector will be imported and added to the Connectors list. - Double-click the connector, and click
 to run the smart connector.
Ensure that you configure the ADLS smart connector before you can run it. Contact the services team to configure the smart connector to import metadata.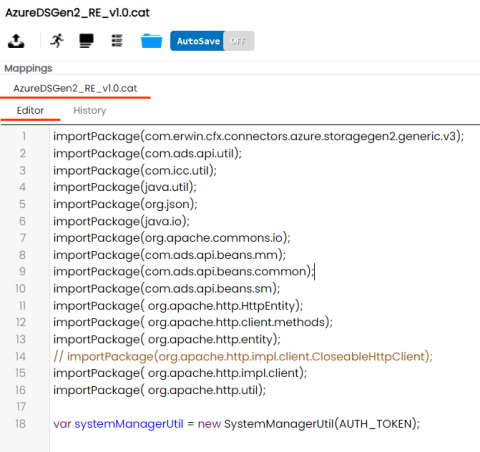
Once the connector executes successfully, the connector page displays a success message. This creates metadata based on the ADLS database in the Metadata Manager.
The Connectors page appears.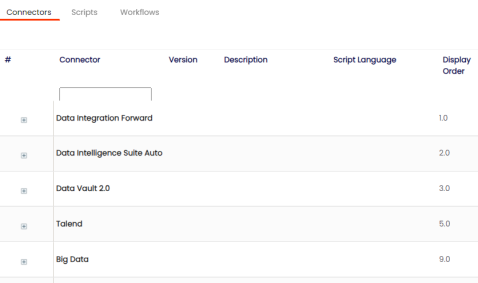
The Import Code Automation Connector page appears.
Enabling erwin DI - DQLabs Sync
After the ADLS connector configuration in DQLabs and Automation Framework module, you can select a data source (catalog in DQLabs created using an ADLS smart connector) for the system to sync DQ Scores from DQLabs.
To select a data source for DQ Score sync, follow these steps:
- Go to Application Menu > Metadata Manager, and locate the new system created using the ADLS smart connector.
- Right-click the system, and select Edit System.
The Edit System page appears.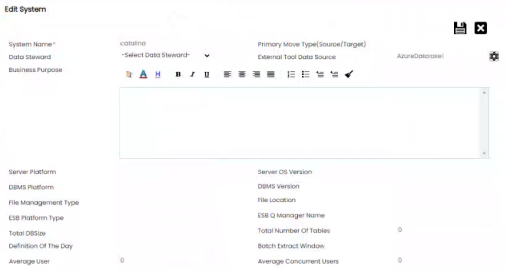
- Click
 , next to the External Tool Data Source option.
The Select Data Sources page appears and displays the data sources (ADLS Catalogs) created manually in DQLabs. To create a catalog and ADLS connection in DQLabs, refer to Configure ADLS Connection in DQLabs section.
Use the search box to filter data sources using their name, or type. - Select the required data source from the list, and click
 . Selecting a data source here ensures that, the DQ Scores from DQLabs are synced to the system.
This page displays data sources from DQLabs only when the Enable DQ For Smart Connector option is enabled and Organization Name options are updated on the configuration page.
Once the above configurations are complete, perform a sync job to sync the DQ Scores from DQLabs to erwin DI, and scores are displayed in the Metadata Manager. For more information on scheduling a sync job, refer to the Scheduling Jobs topic.
If you are running erwin DI locally, to get DQ Scores for the ADLS environments, follow the below steps:
- In your local machine, go to C:\Program Files\Apache Software Foundation\Tomcat 9.0_Tomcat9.0.73\webapps\erwinDISuite\WEB-INF\configuration\properties.
- Locate and open the Application.properties file.
- Enter external - path=External Path.
|
Copyright © 2023 Quest Software Inc. |